
23+ Clever Washi Tape Decor Ideas that Renters and Dorms Will Love in 2026

Let me be straight with you before we start – washi tape is not a permanent design material, and anyone selling it as one is lying to you. It’s paper with a low-tack adhesive, it costs a few dollars a roll, it comes off clean, and that combination makes it the single most useful thing a renter or a dorm resident can own. I’ve used it to fake panelling, disguise ugly cords, and frame art on walls where I wasn’t allowed a single nail, and I’ve also watched a cheap roll yellow and buckle in a sunny window in under three months. Here are 23 ways to use it well, with honest notes on what sticks, what doesn’t, and what it actually costs.
Washi Tape Decor Ideas
1. Run One Band at Chair-Rail Height and Stop There
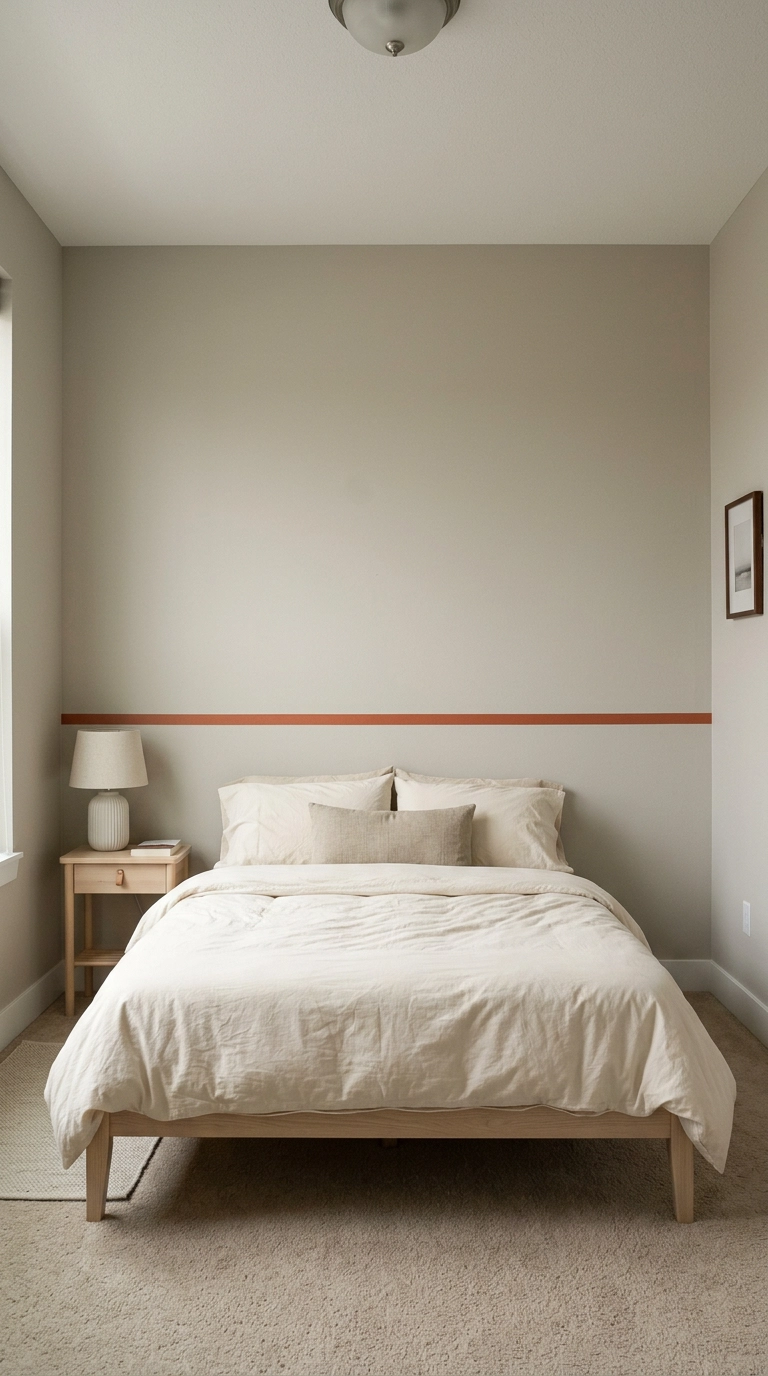
Start here, because one line does more than you’d think and takes twenty minutes. A horizontal band at about 36 inches cuts the wall into two proportions instead of one blank plane, which is exactly what a real chair rail does for roughly two hundred times the price.
2. Frame Art Without Buying a Single Frame
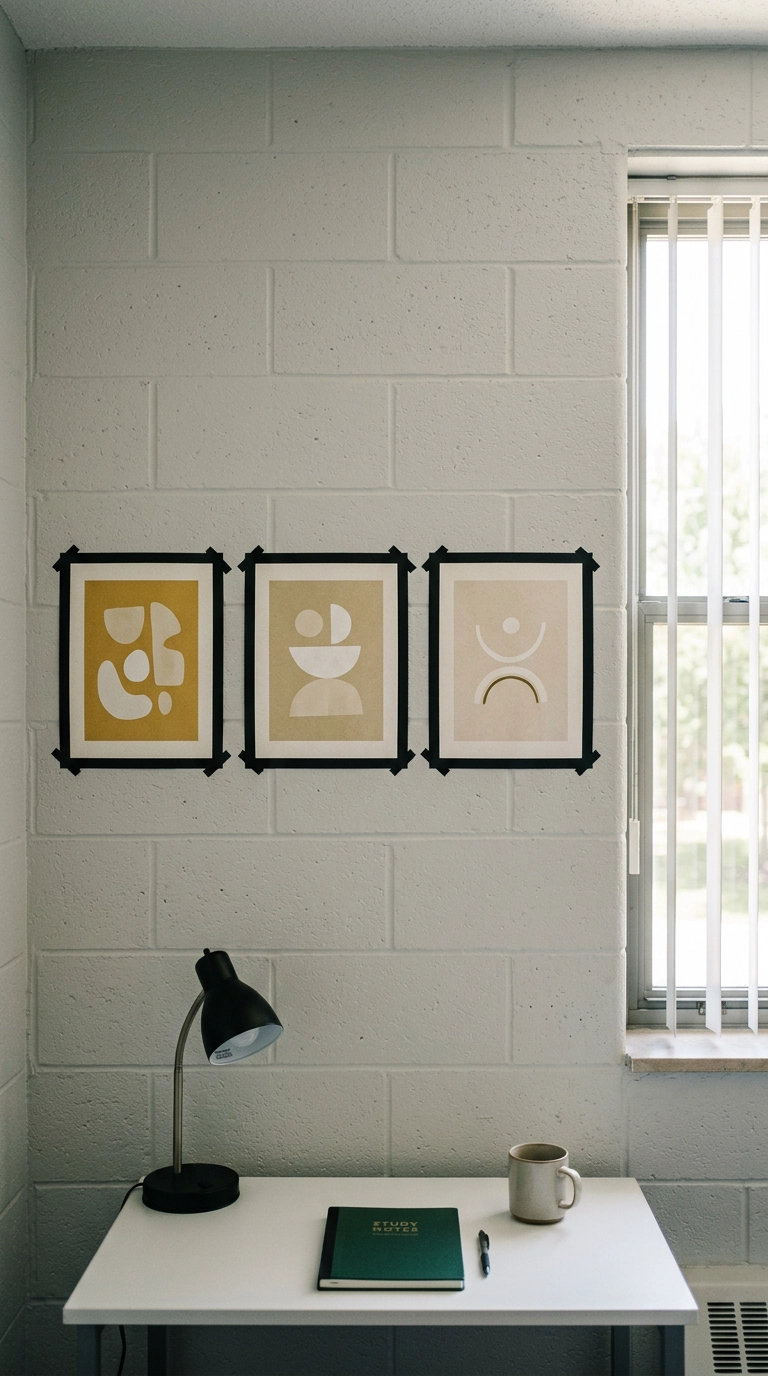
This is the idea that converts people. Tape a print flat to the wall, then run a 10mm or 15mm border around it a half inch outside the paper edge, mitering the corners at 45 degrees – you get the visual weight of a frame for about forty cents.
3. Disguise the Cords Running Down Your Wall
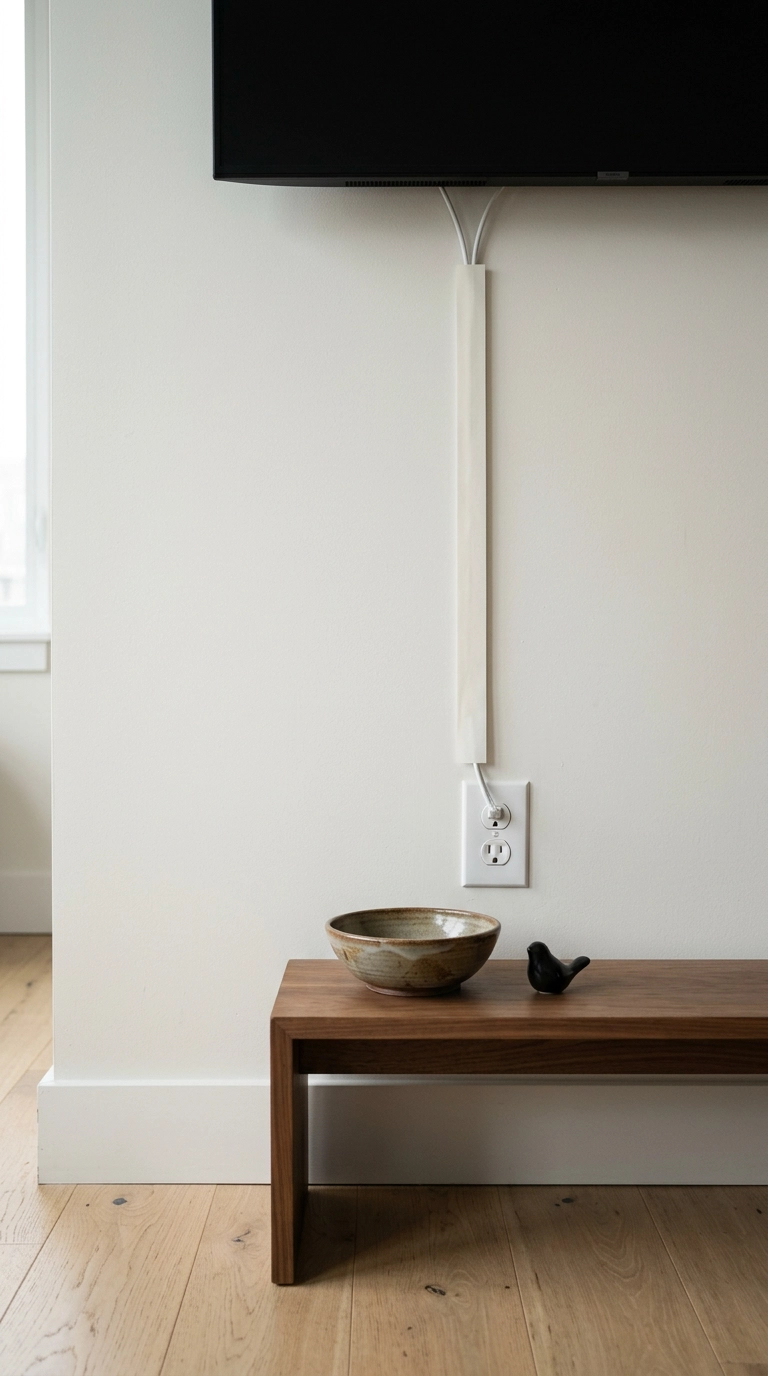
Cord covers are ugly plastic and cost real money. A 25mm or 30mm strip of tape laid straight over the cable, pressed down with a credit card edge, makes the cord read as a deliberate vertical line instead of an accident.
4. Fake a Grid of Picture-Frame Moulding
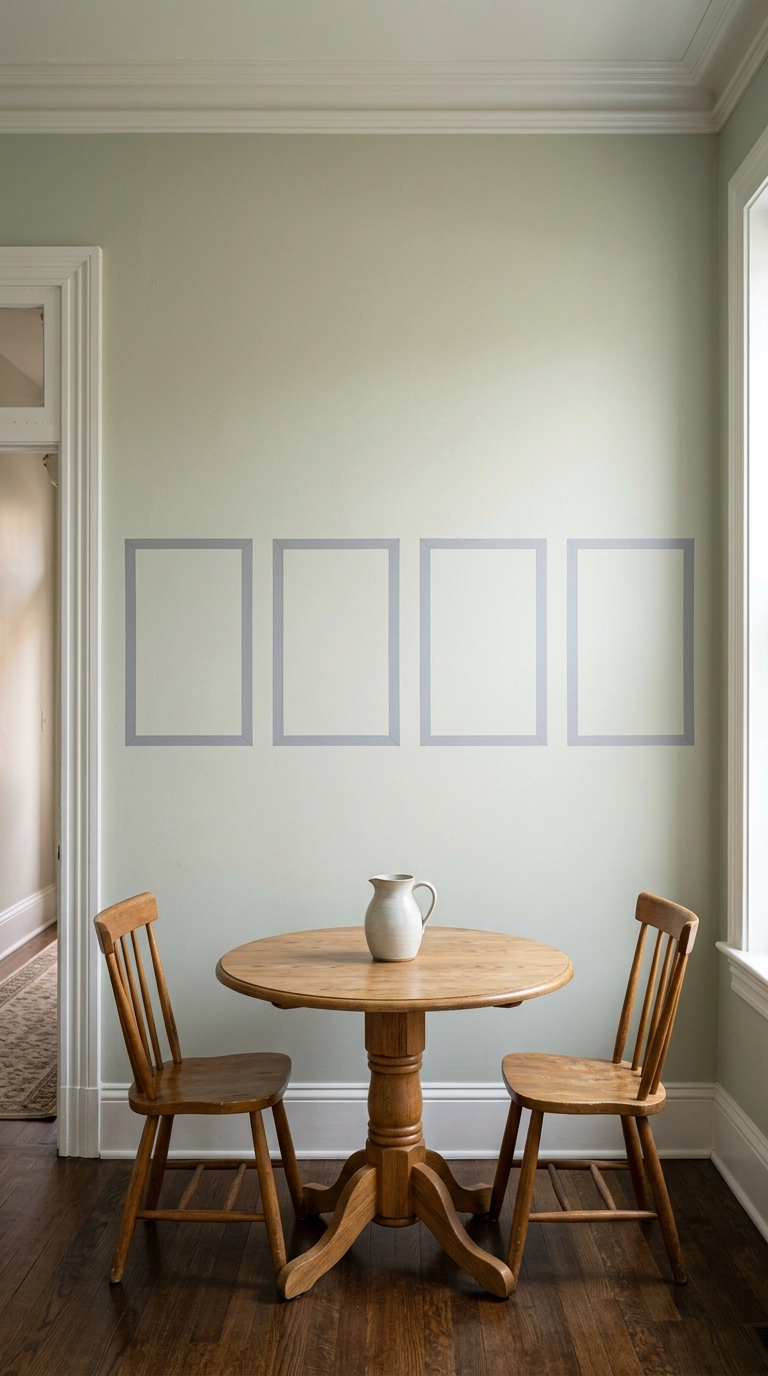
Real picture-frame moulding means a miter saw, adhesive, caulk, and a landlord conversation. Tape gets you the same rhythm of rectangles on the wall in an afternoon, and it comes off in ten minutes on move-out day.
5. Build a Geometric Headboard Behind the Bed
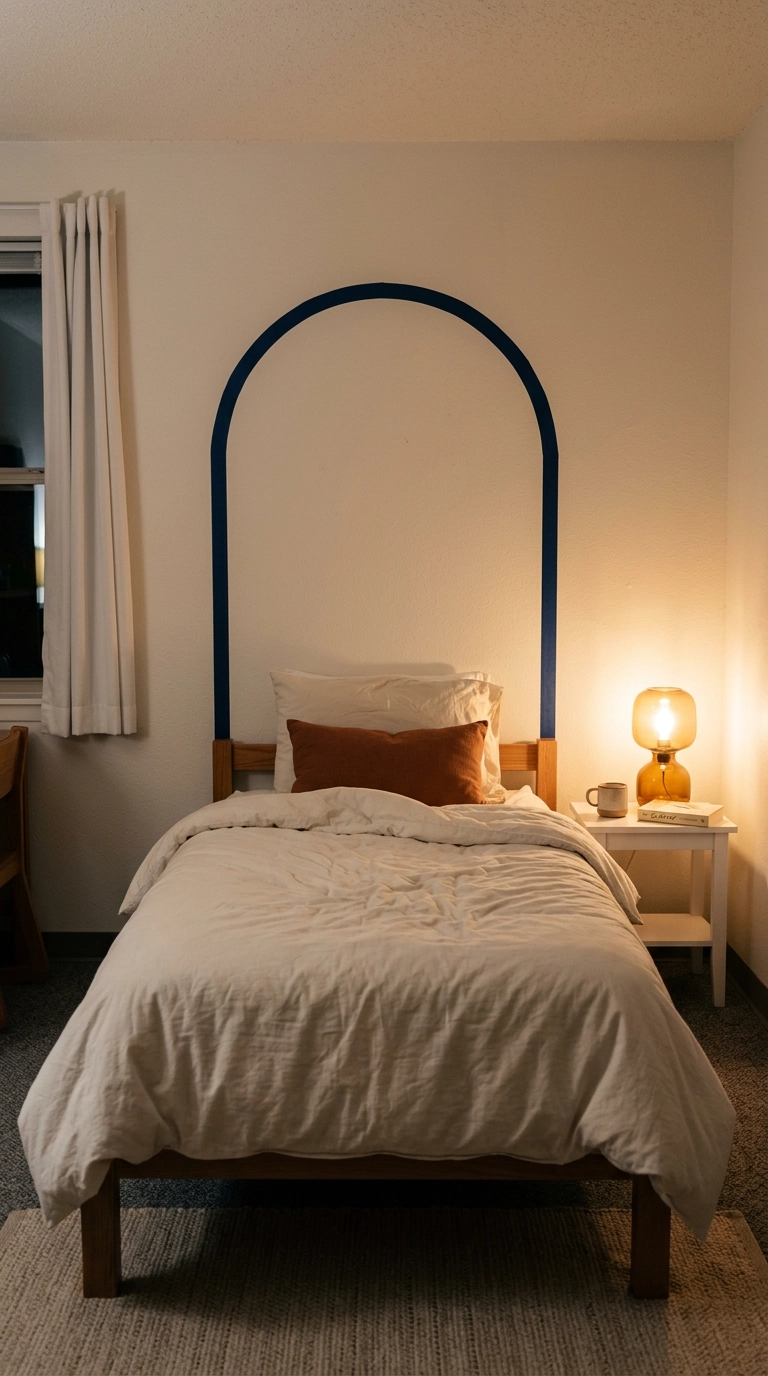
A drawn headboard is the highest-impact washi project there is, because the bed wall is the first thing anyone sees and dorm beds come with nothing behind them. An arch is the shape I’d pick – it’s soft, it’s current, and curves forgive small wobbles that a rectangle would expose.
6. Stripe a Bare Wall Vertically to Raise the Ceiling
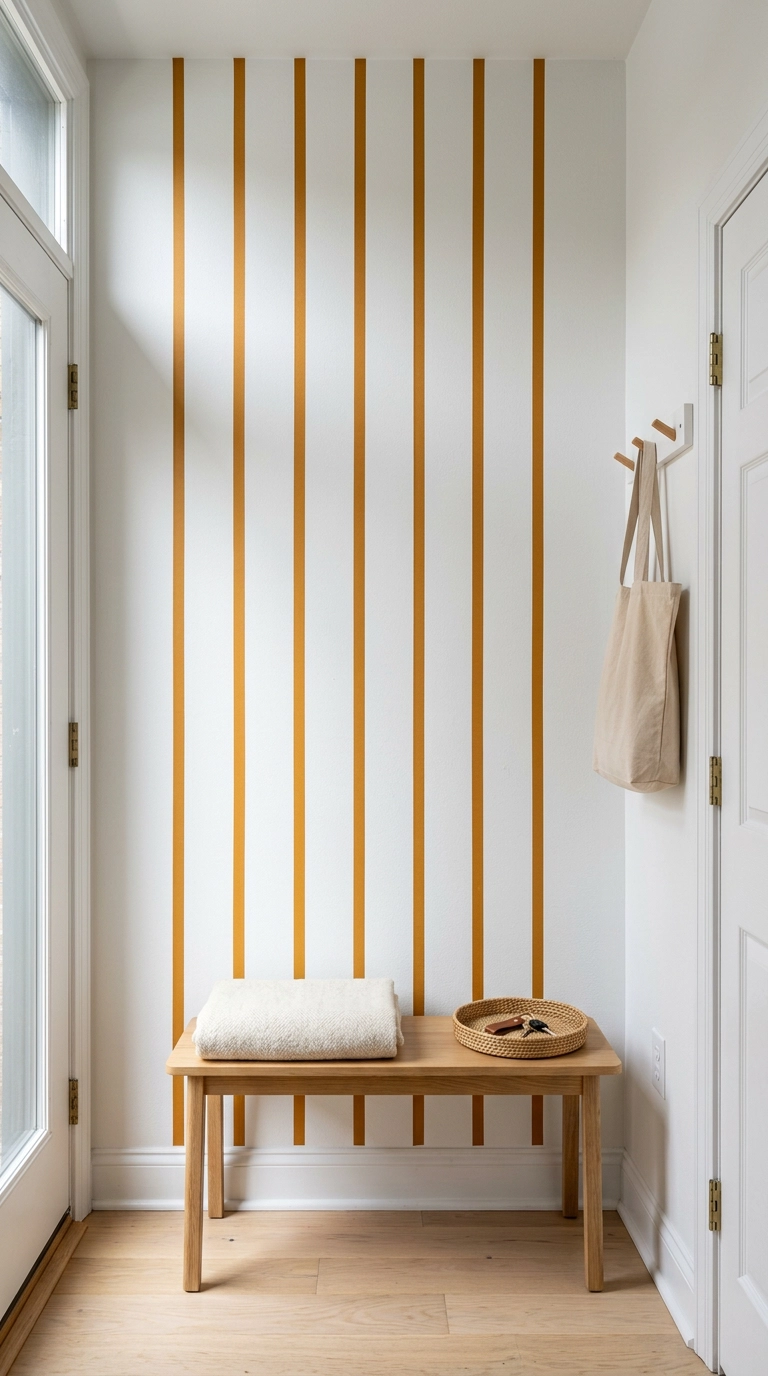
Vertical lines pull the eye up and make an 8-foot ceiling read taller, which is why every builder-grade apartment benefits from this trick. Run the stripes true floor to ceiling – stopping short kills the whole effect and just looks unfinished.
7. Update Flat-Pack Drawer Fronts With a Single Stripe
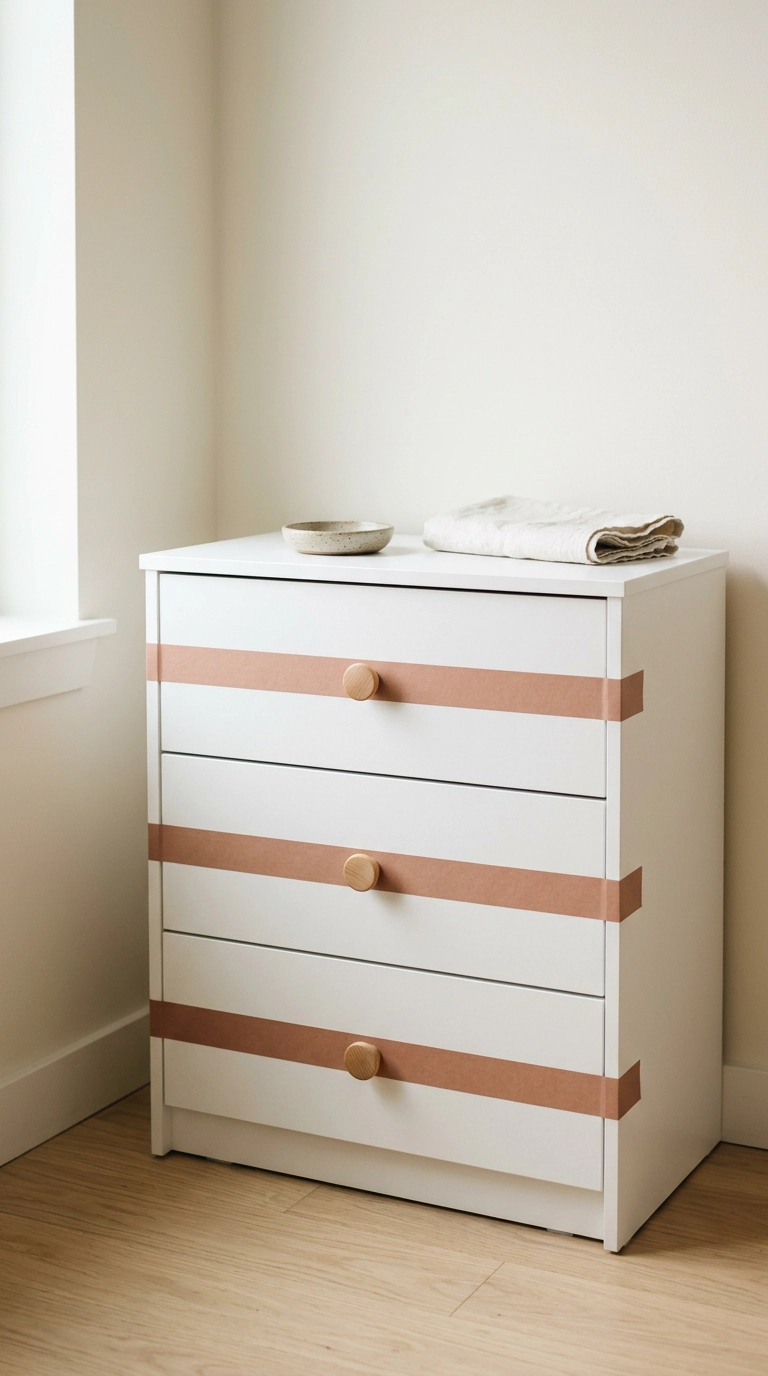
Laminate is the ideal washi surface – it’s smooth, non-porous, and releases cleanly even after a year. One wide band across each drawer front turns a generic white dresser into something that looks chosen, and it’s fully reversible on a piece you don’t own.
8. Fake a Tile Border Around a Bathroom Mirror
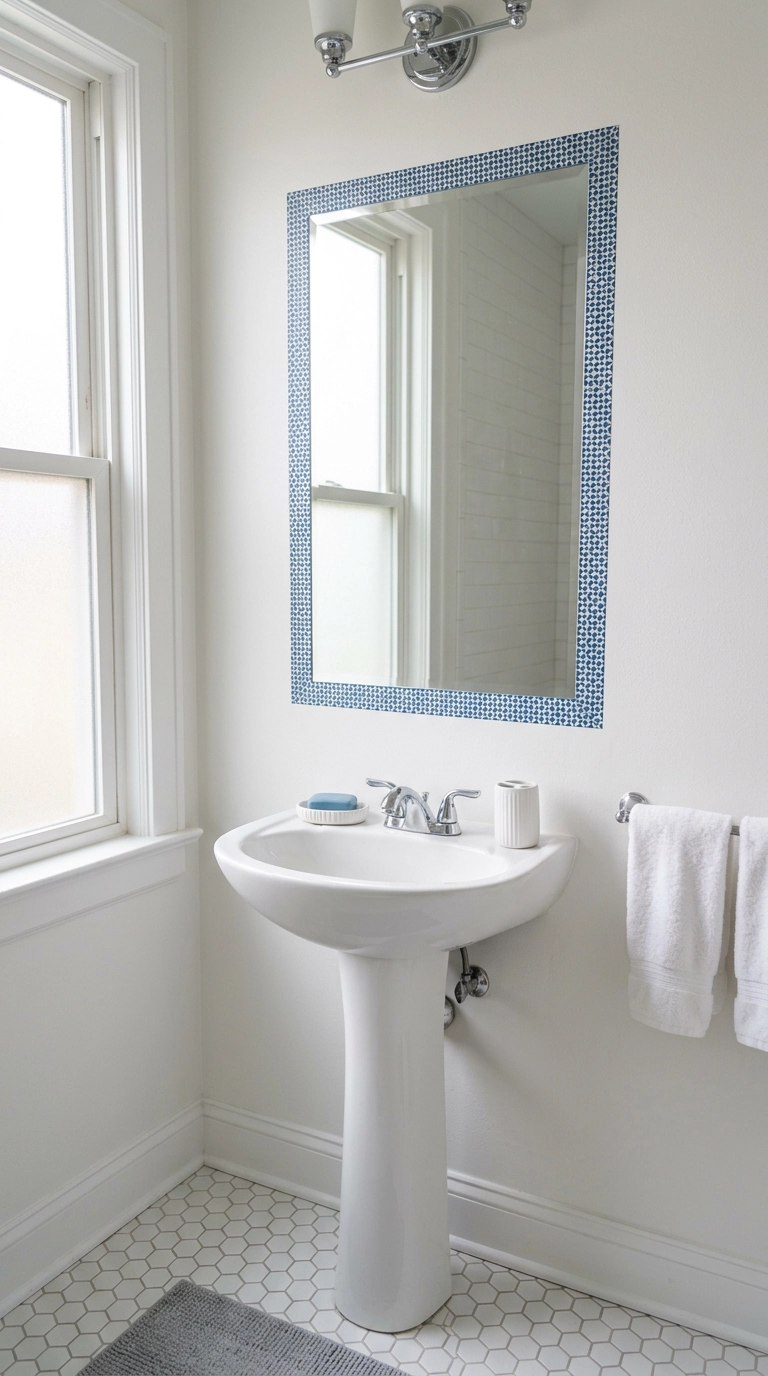
Rental bathrooms come with a naked frameless mirror glued to the wall, and this is the cheapest fix I know. A patterned tape border applied to the wall around the mirror edge reads like a small tile surround from a few feet away.
9. Turn a Hollow Door Into a Panelled One
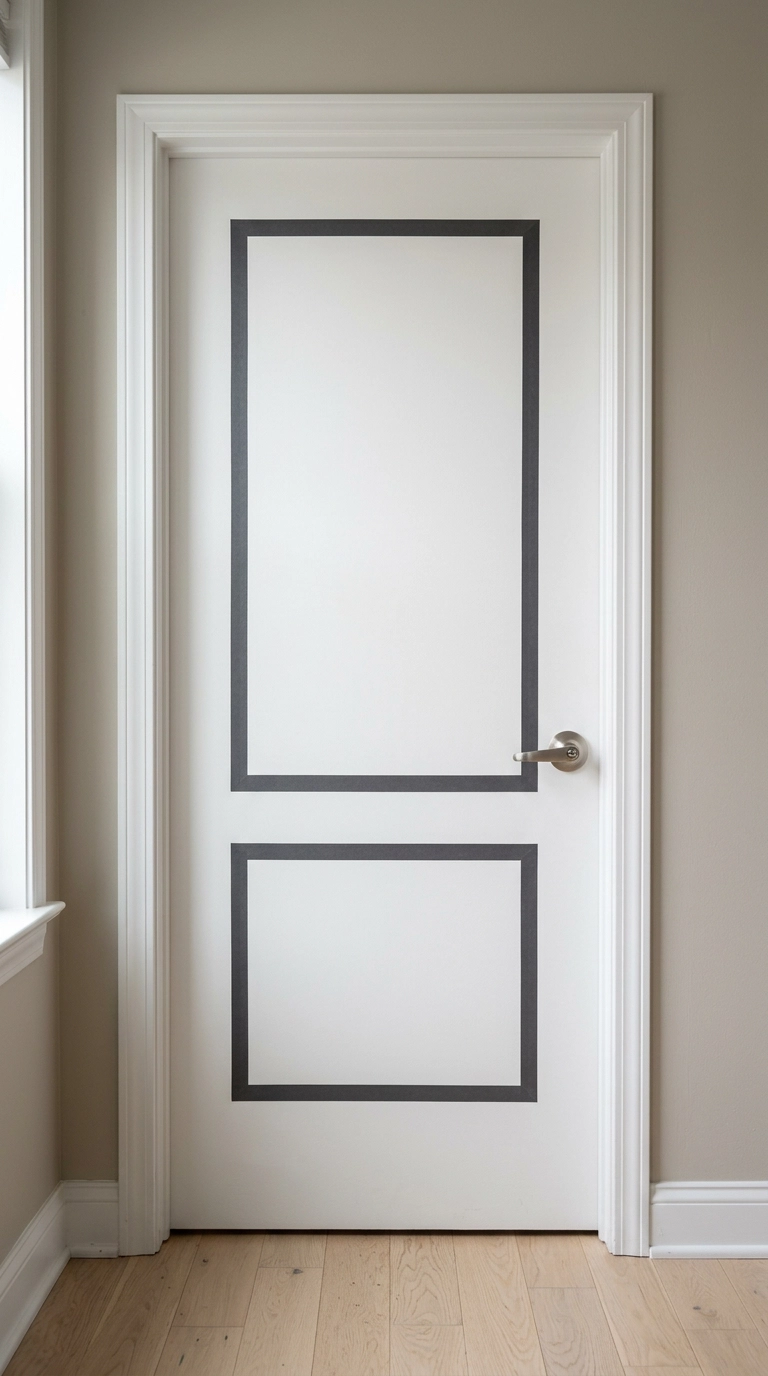
Flat hollow-core doors are the most overlooked ugly surface in any rental, and they’re the perfect washi canvas because they’re almost always semi-gloss – the finish tape loves most.
10. Outline Open Shelf Edges for a Painted-Trim Look
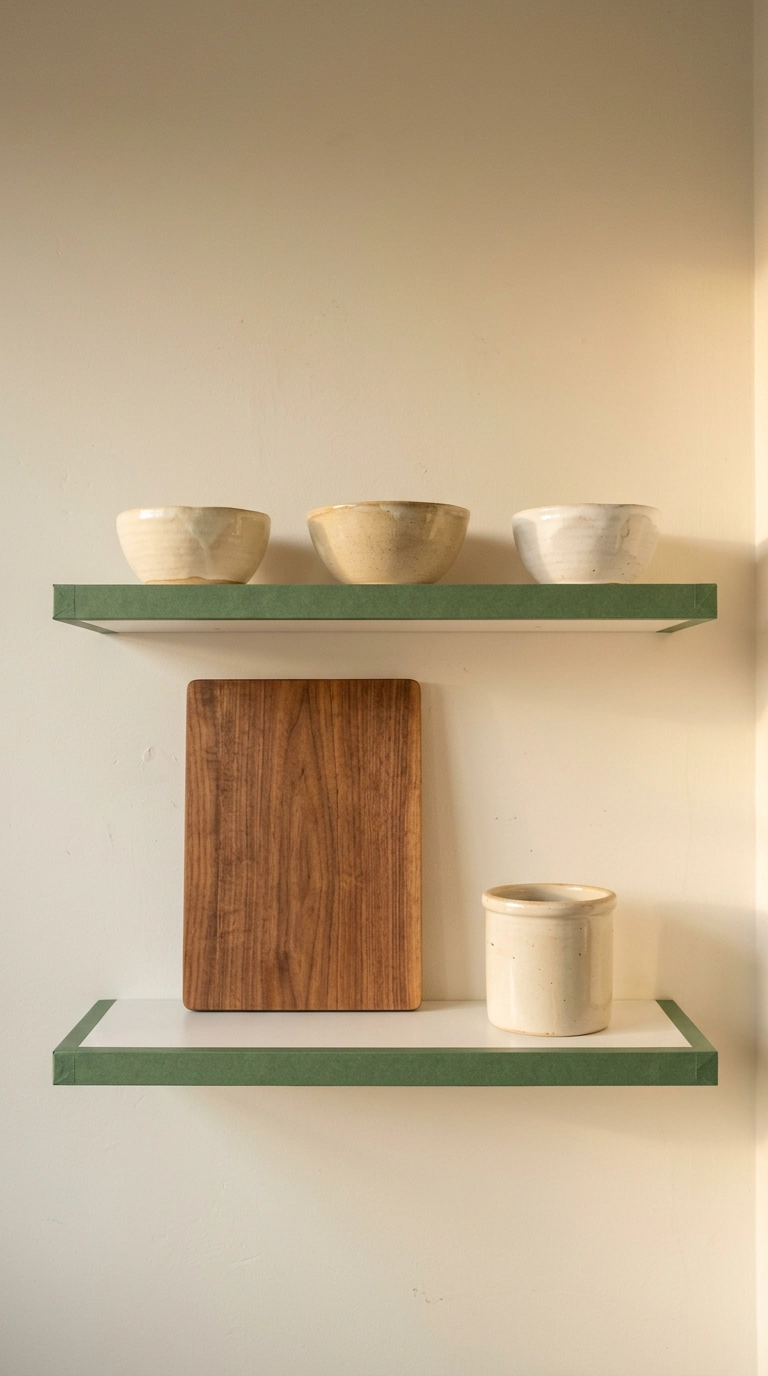
Shelf front edges are a strip of visual real estate everyone ignores. Taping them a saturated color gives cheap melamine shelves a crisp painted-trim line, and because the tape sits on a vertical face nothing rubs against it.
11. Make a Sparse Grid of Squares on a Big Empty Wall
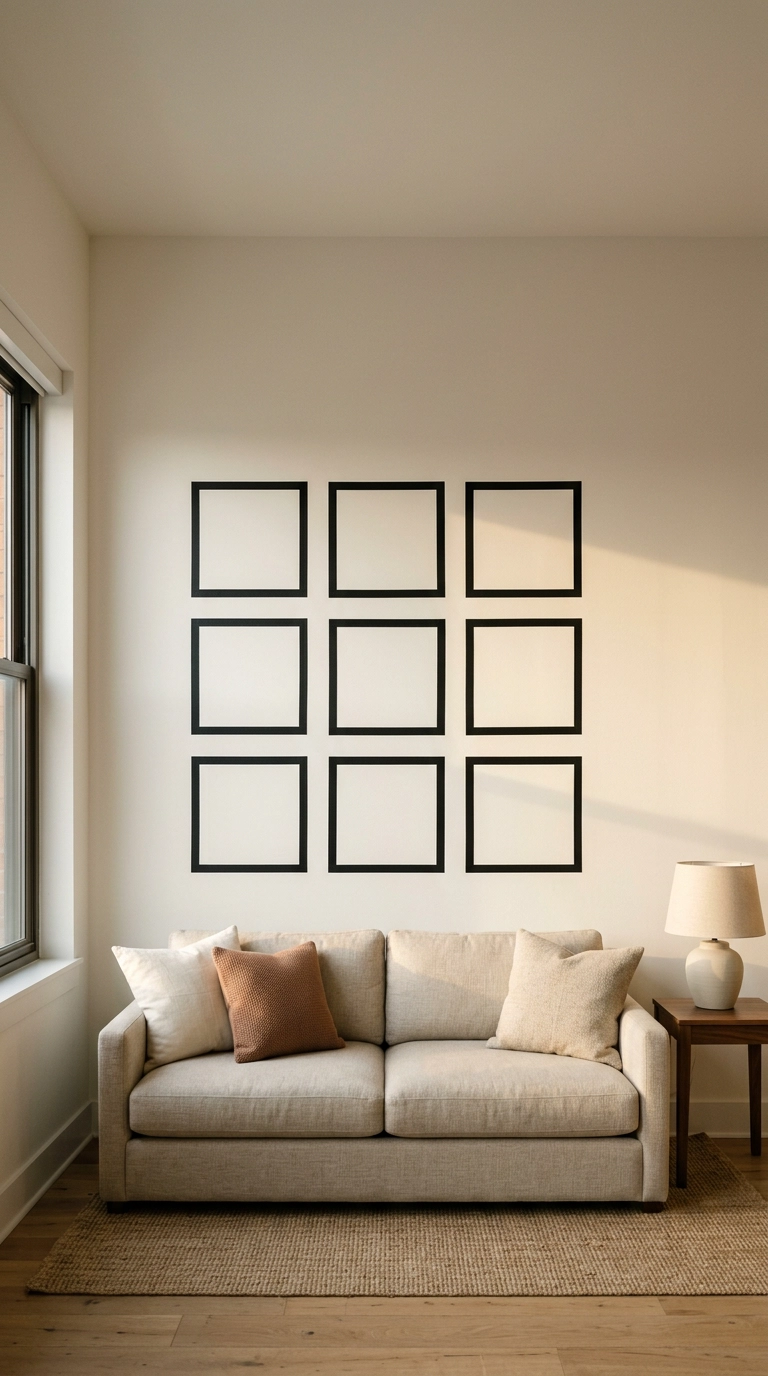
An empty square grid is my favorite way to fill a big blank wall when I have no art and no budget. Nine open outlines give the wall structure and rhythm while leaving it mostly bare, which is why it reads as designed rather than as a craft project.
12. Border a Plain Roller Blind or Shade
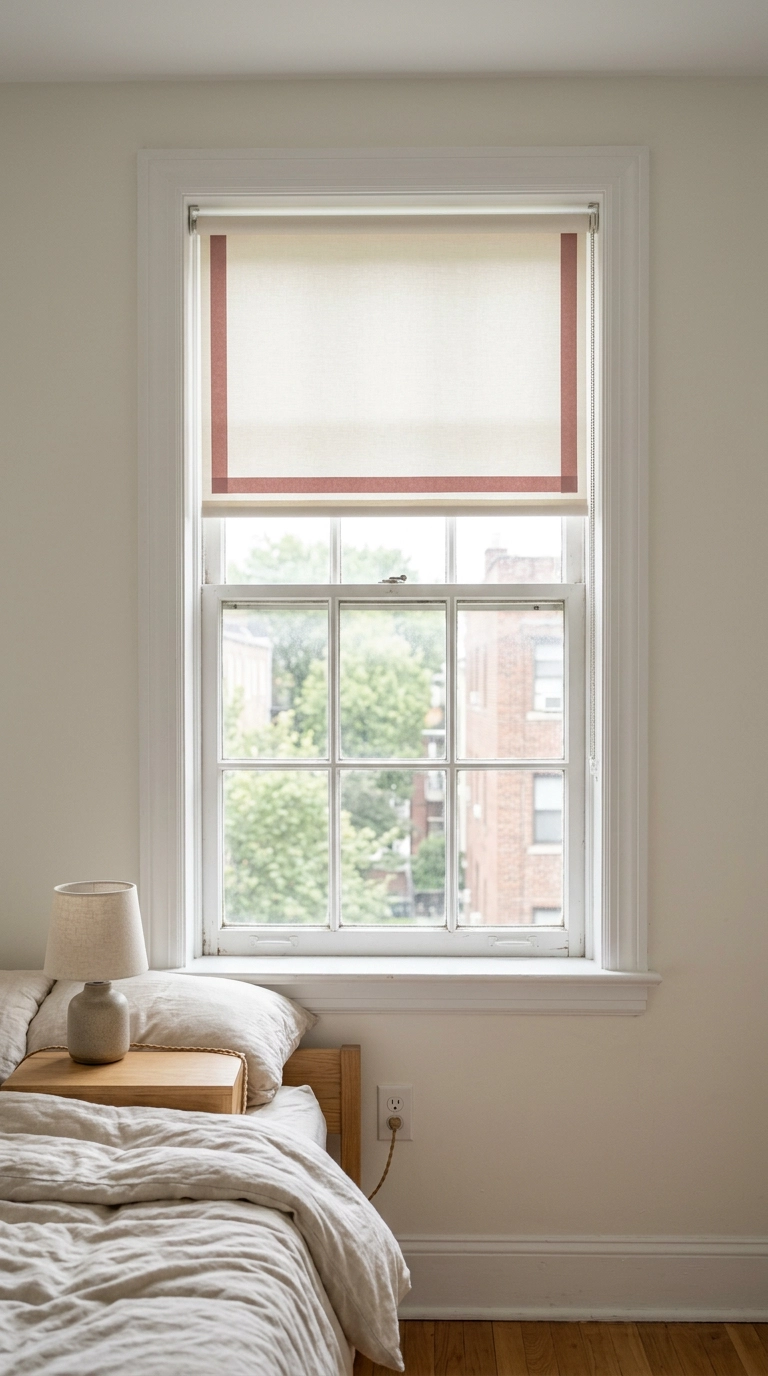
Landlord blinds are plain vinyl or plain cream fabric, and a taped border is the easiest way to make them look like something you chose. Run the tape along the bottom edge and a few inches up each side for an L-shaped frame.
13. Give a Beige Mini Fridge a Two-Tone Face
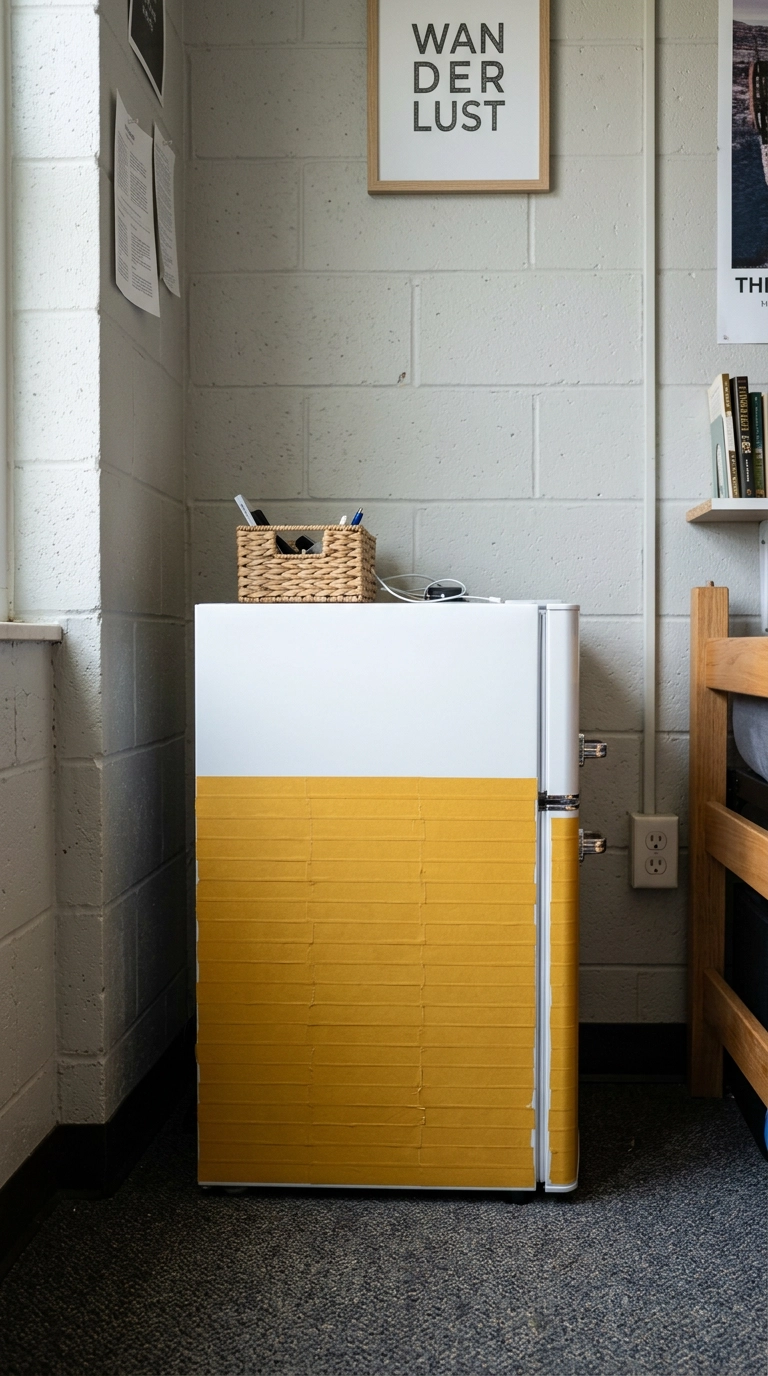
Appliance enamel is the single best surface for washi tape – glossy, cold, non-porous, and it releases without a trace. Covering the bottom two thirds of a mini fridge door in overlapping wide strips gives you a color-blocked appliance for about $10.
14. Draw a Mountain or Arch Mural on a Bare Wall
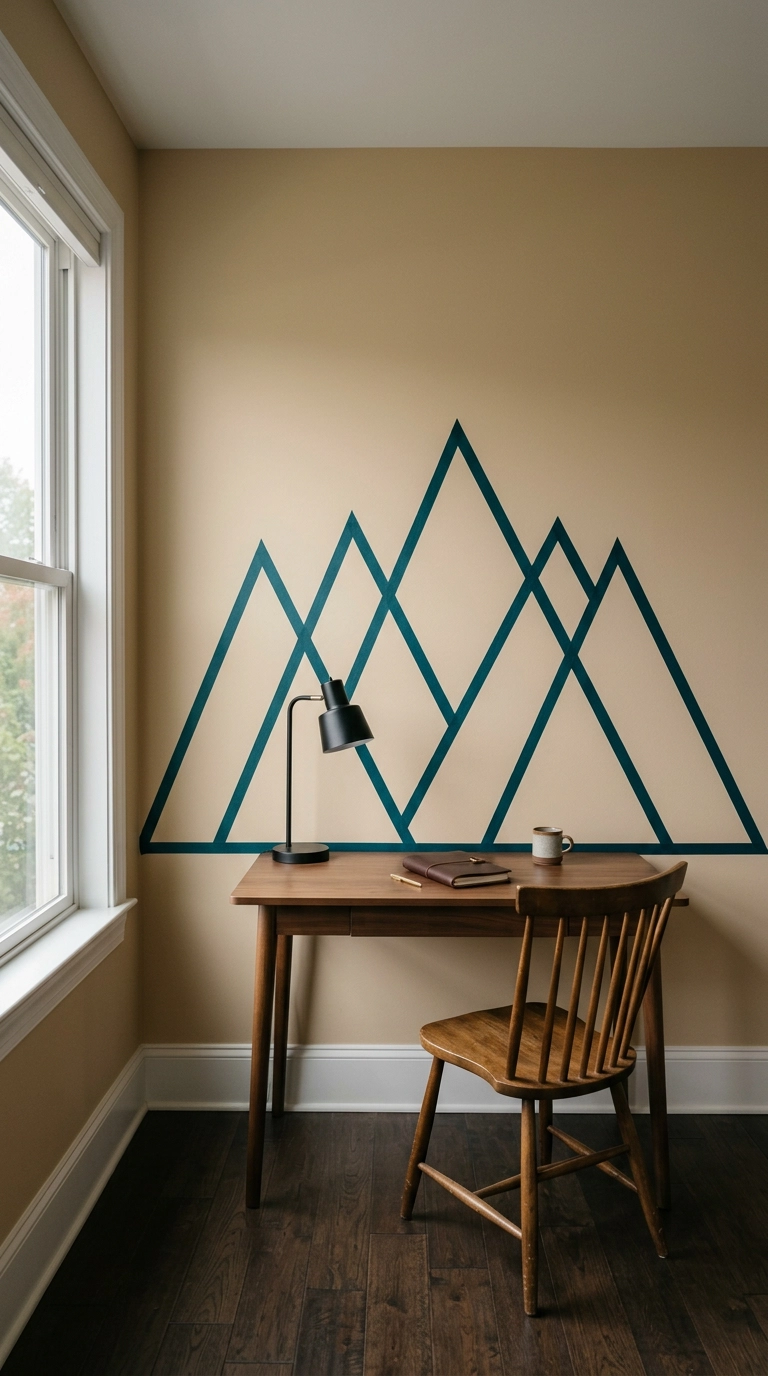
Tape only makes straight lines, so lean into that instead of fighting it. Angular mountain peaks, a stepped arch, or a simple geometric sunburst all come out crisp, while anything with a real curve turns into visible faceting.
15. Line the Inside Back of a Bookcase
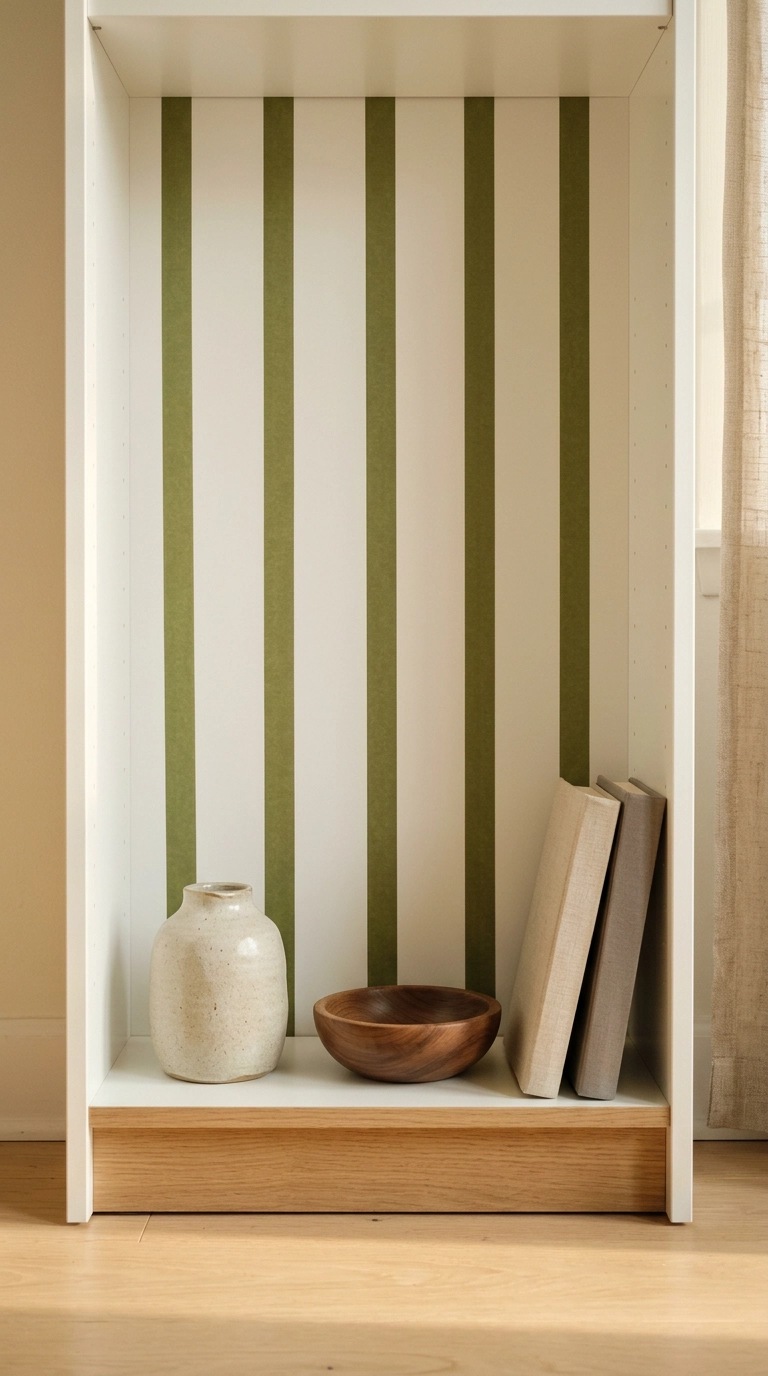
The back of a bookcase is a hidden accent wall, and taping it is far easier than wallpapering because you can work in one bay at a time and nothing has to line up across the whole piece.
16. Add Windowpane Bars to a Plain Round Mirror
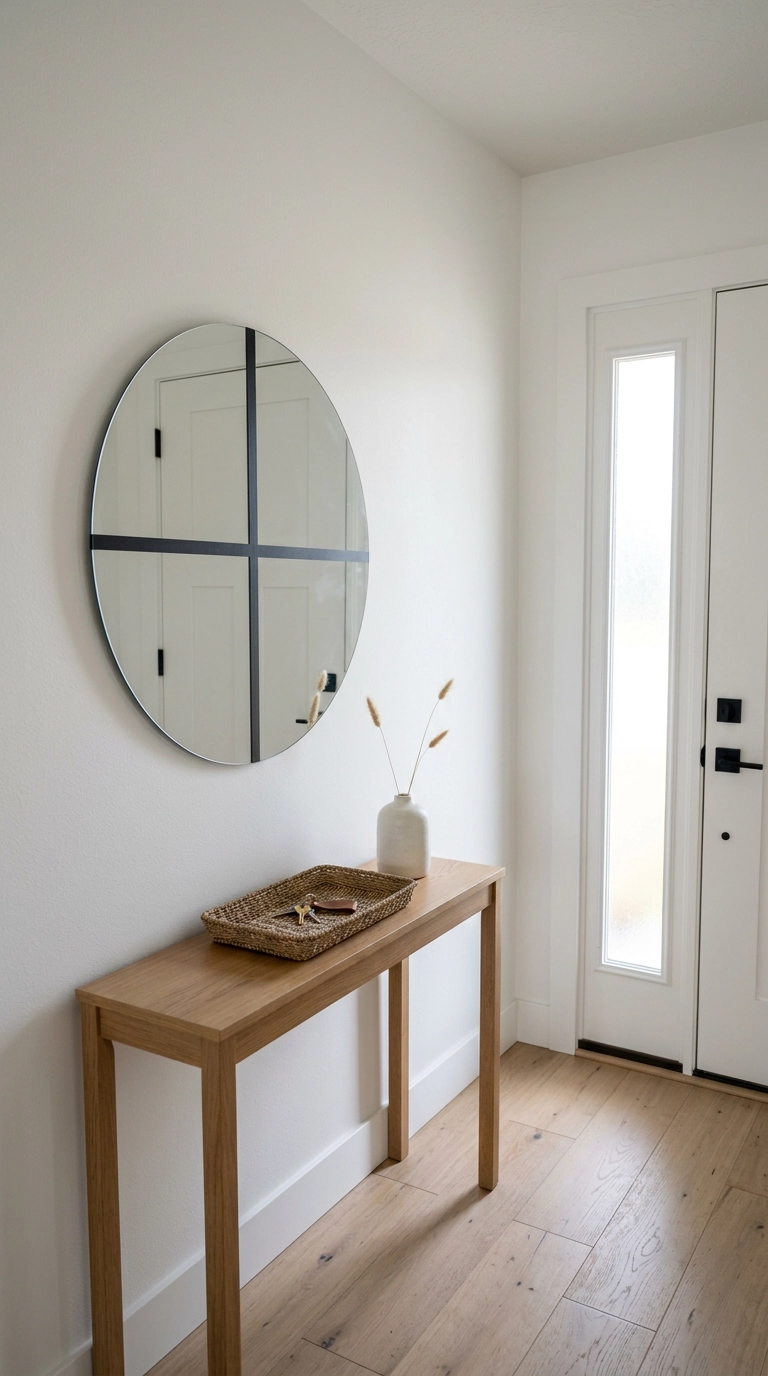
Divided-light mirrors are everywhere right now and they cost real money. Four thin lines of black tape across a plain mirror – two vertical, two horizontal – gets you most of the effect for the price of a coffee.
17. Tape Up Seasonal Bunting That Vanishes the Same Night
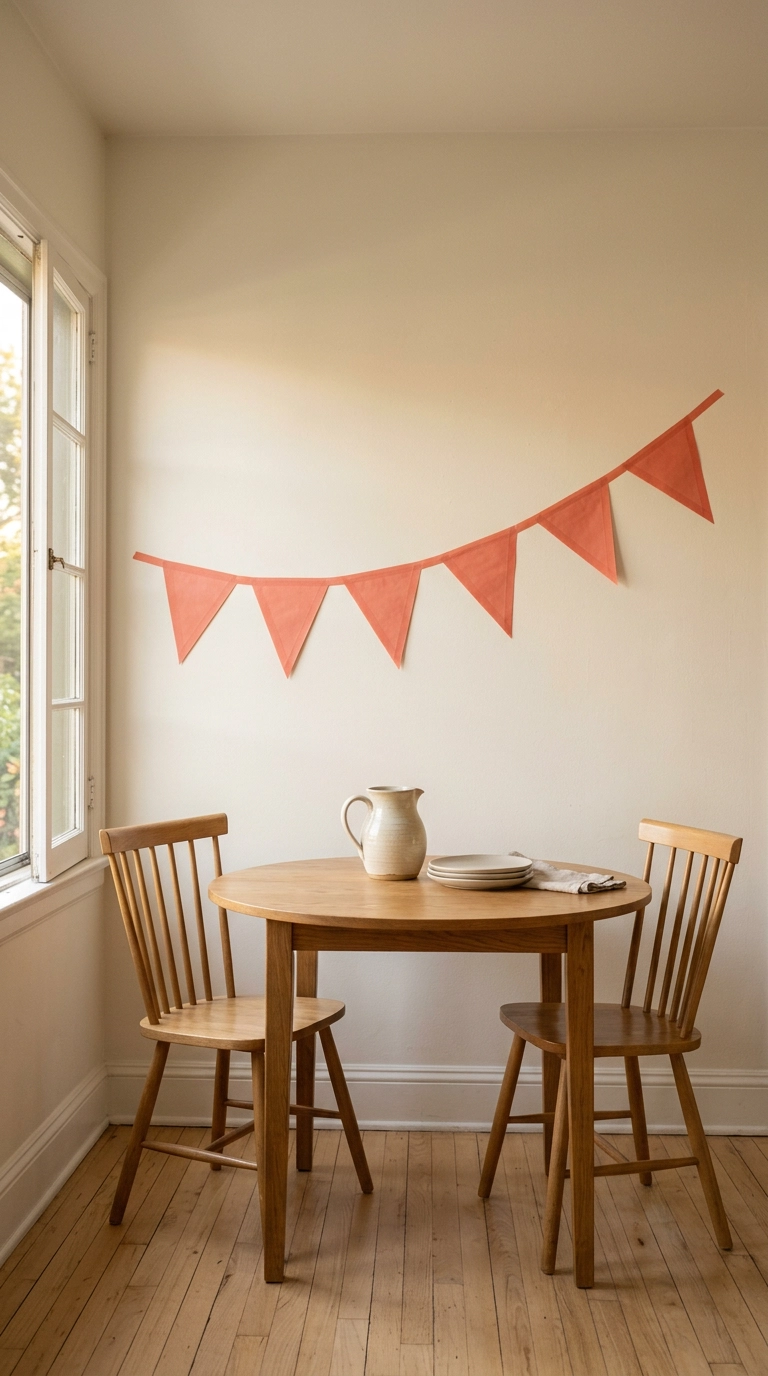
This is where washi genuinely beats every alternative. Drawn bunting, a taped tree shape in December, or a row of triangles for a birthday goes up in fifteen minutes and comes down the same evening with nothing to store and nothing to patch.
18. Widen a Skinny Door Casing With a Painted-Looking Border
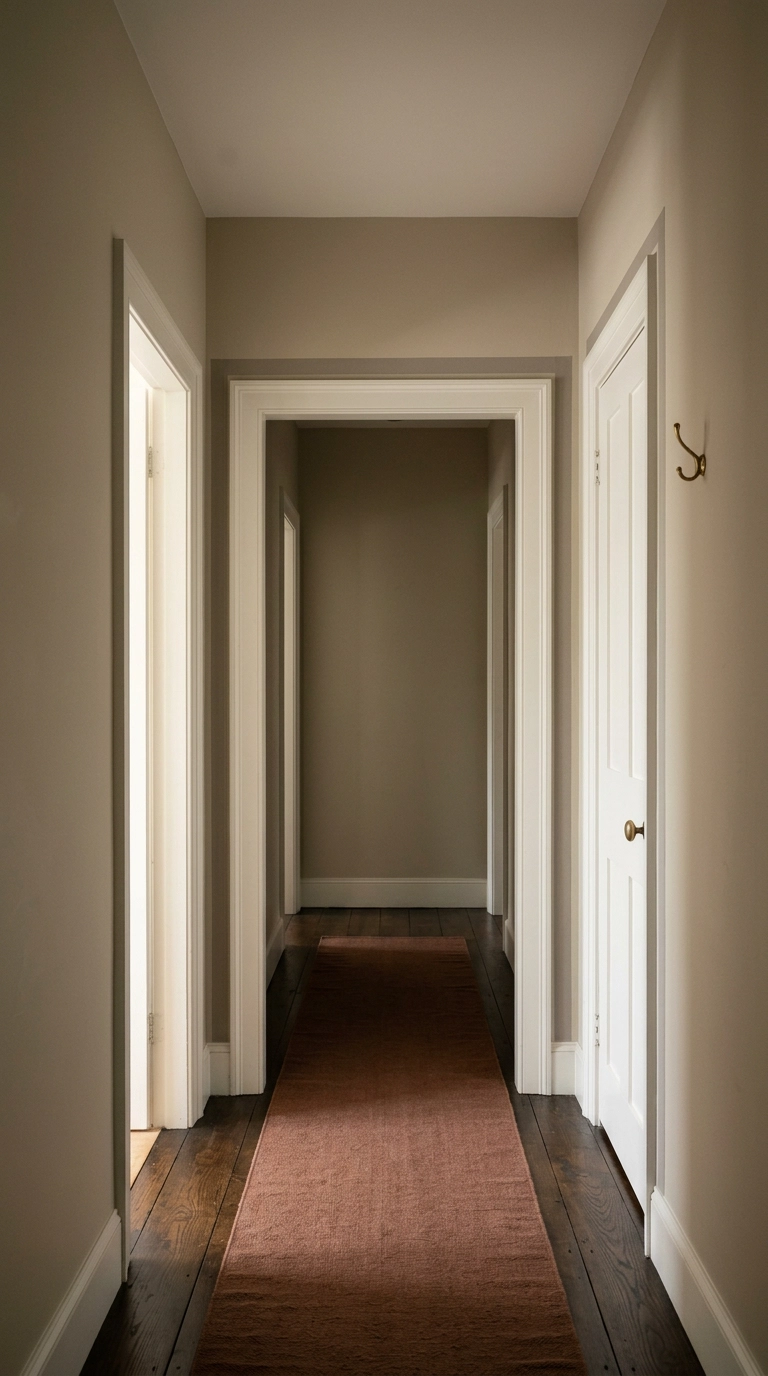
Builder doorways get the thinnest casing the code allows, which is why they look cheap next to older homes. Running a tape border on the wall a couple of inches outside the existing casing tricks your eye into reading one wide, substantial trim detail.
19. Run a Frieze Line Just Below the Ceiling
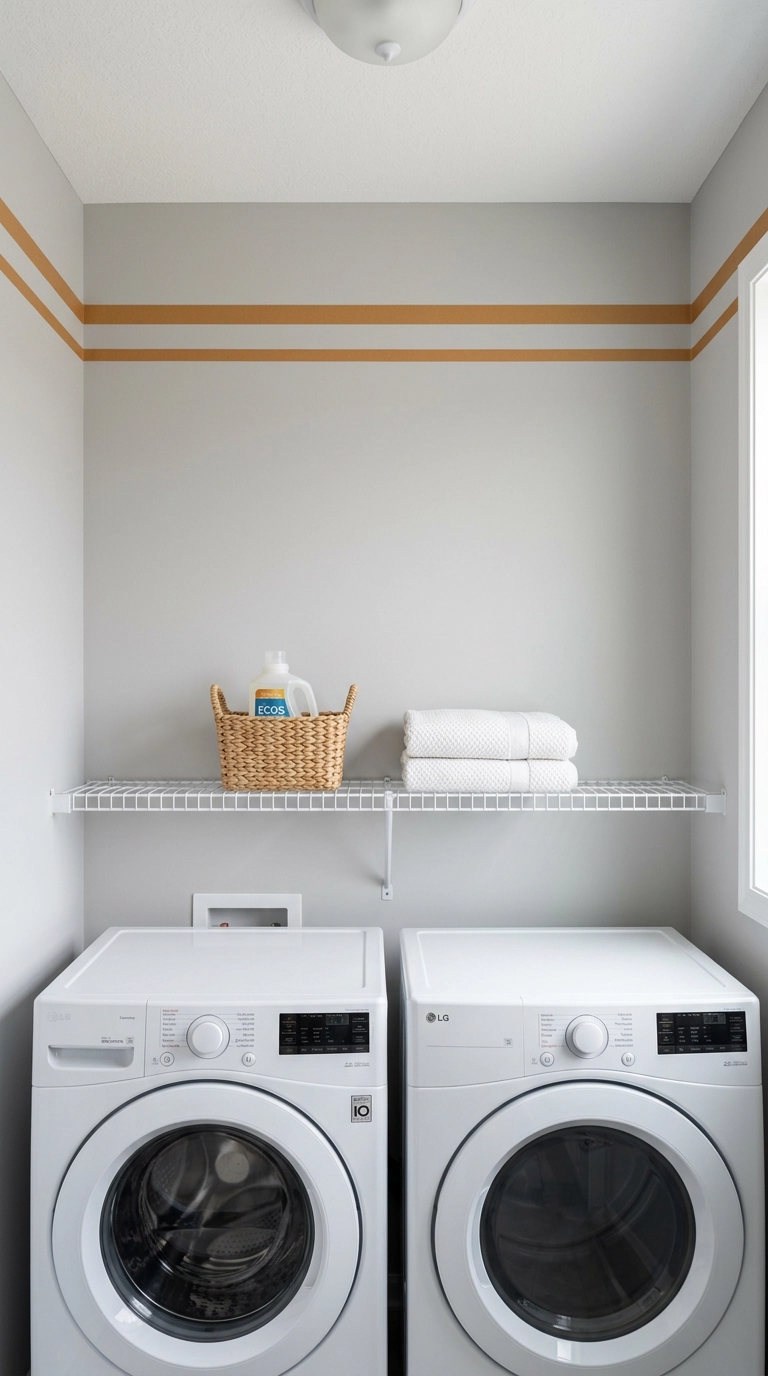
A double line near the ceiling is the trick old houses use to make a plain room feel finished, and it’s the most forgiving washi project going because nobody studies a line eight feet up at close range.
20. Hang Photos With Taped Corners Instead of Frames
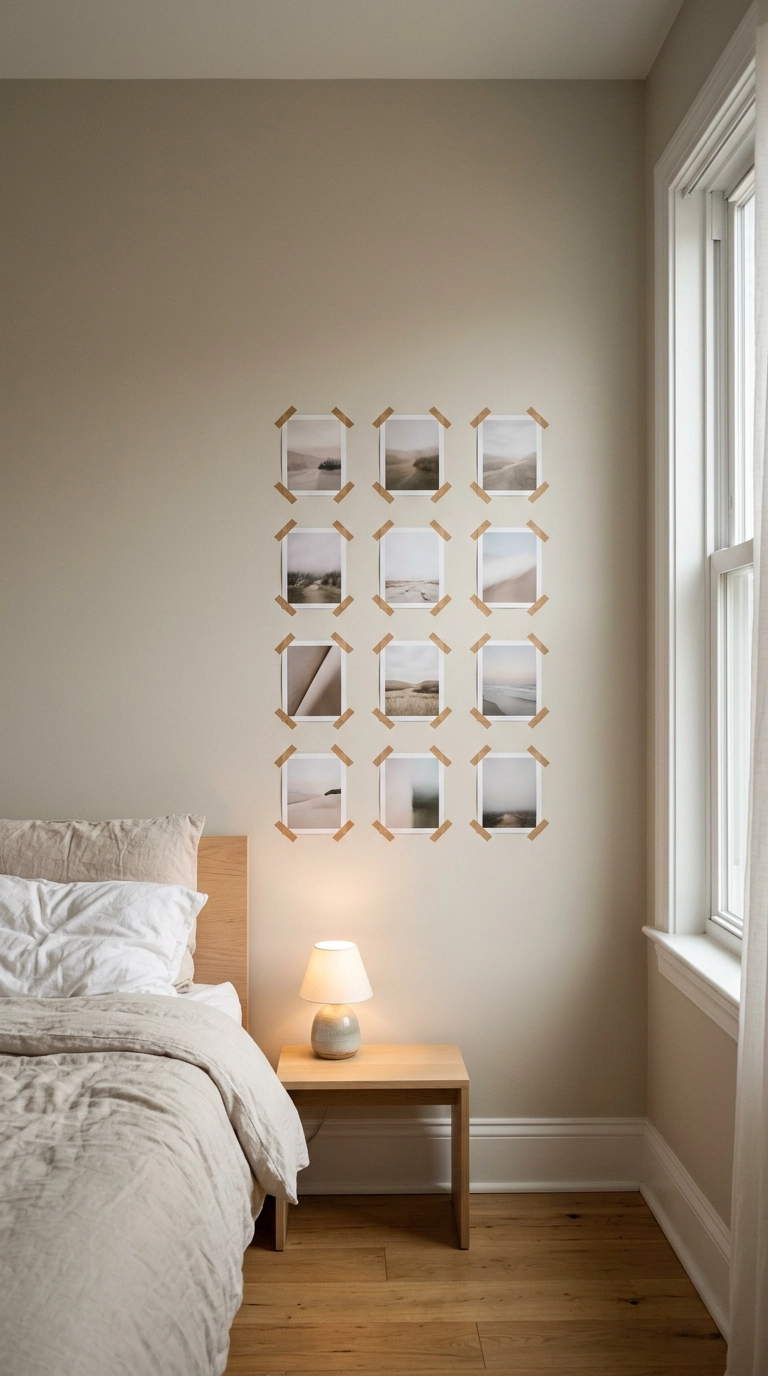
Two small tape tabs at opposite diagonal corners hold a 4×6 print securely and read as a deliberate detail rather than as tape doing a job. It’s the honest version of a gallery wall when you can’t drill and won’t buy twelve frames.
21. Commit to a Full Harlequin Diamond Feature Wall
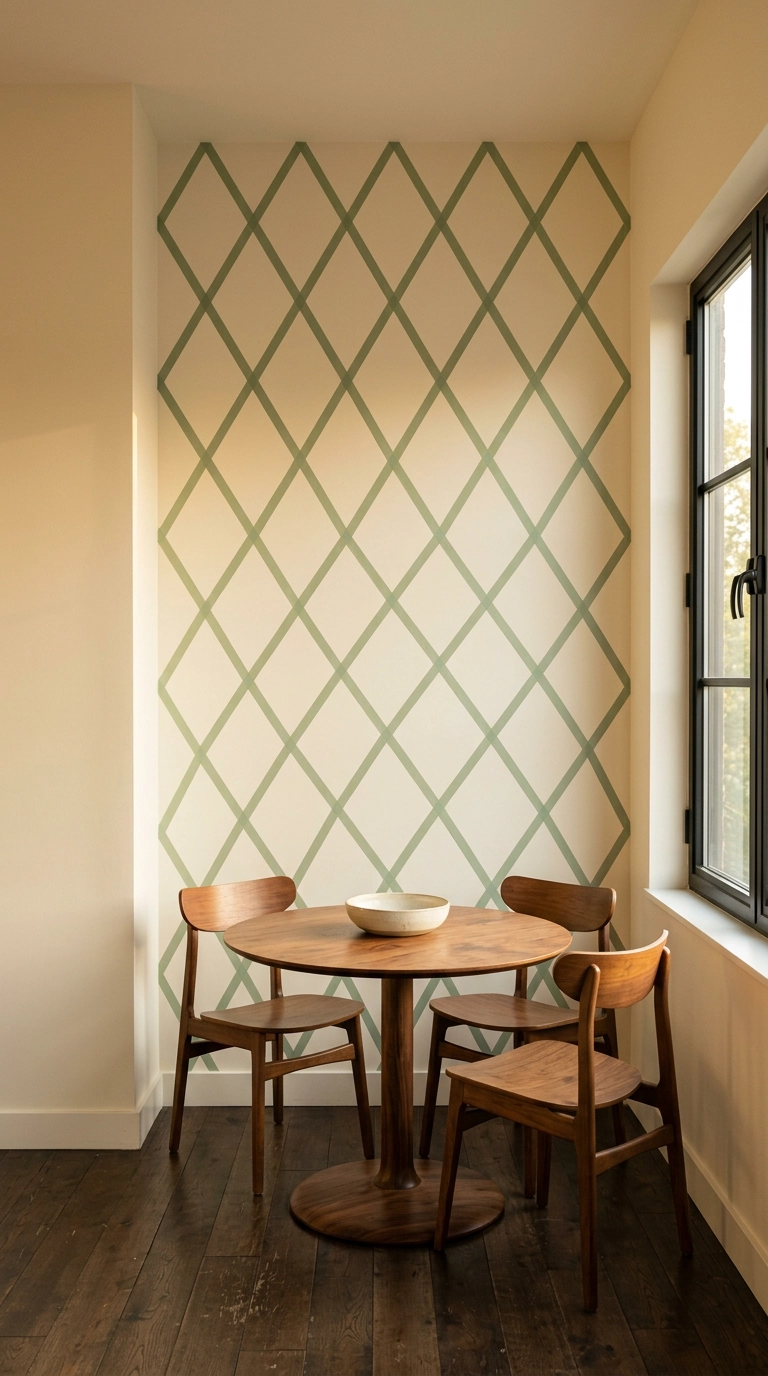
Here’s where the commitment starts. A diagonal diamond lattice across an entire wall is a genuine project – expect four to six hours, three or four rolls, and a real ache in your shoulders – but it’s the one washi idea that stops people in the doorway.
22. Wrap a Whole Bookcase or Wardrobe in Color
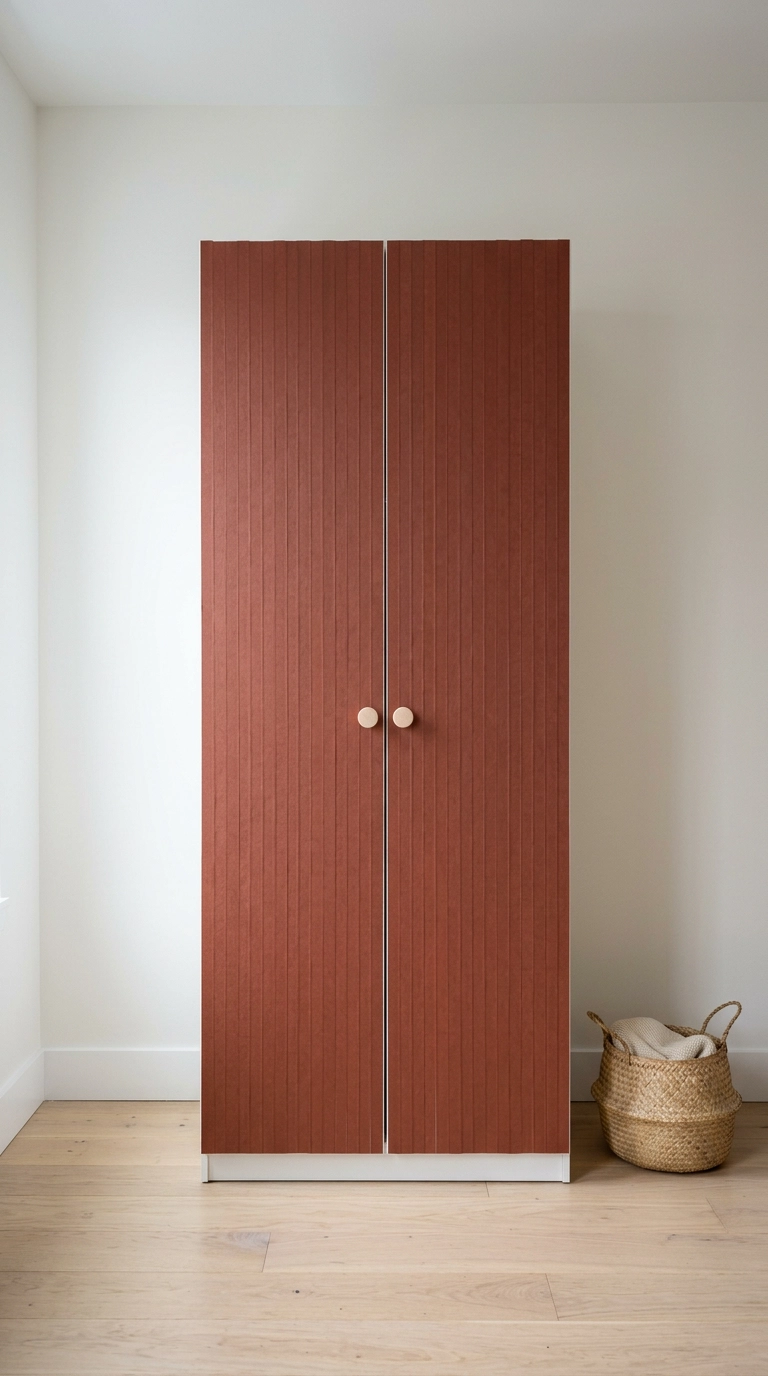
Fully covering a piece of furniture is the most tape-hungry idea here – budget eight to twelve rolls and a full day for a tall wardrobe – but it turns a $120 flat-pack box into a saturated color block you’d otherwise need spray equipment and a garage to achieve.
23. Take It All Down Properly and Leave No Trace
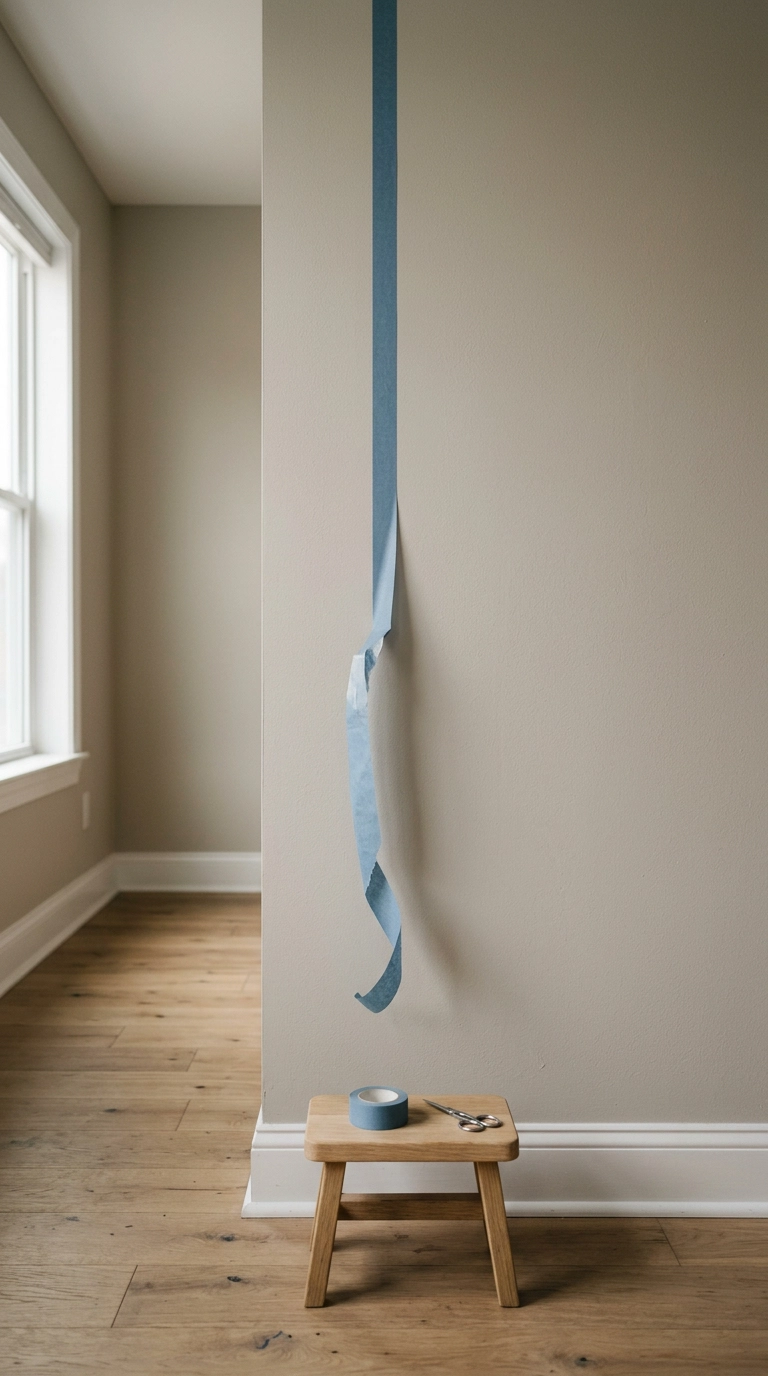
The whole promise of this material is the removal, so do it correctly. Peel slowly, back on itself at a shallow angle close to the wall rather than pulling outward – that angle is what keeps the paint on the wall instead of coming away with the strip.
Where I’d Actually Start
If this list feels like a lot, the honest shortcut is three steps: buy one good roll instead of five cheap ones, test a two-inch piece on your own wall before you commit to anything, and start with a single level line at chair-rail height. That costs under $10 and teaches you everything you need to know about how your particular walls behave. The geometry matters far more than the color – a wobbly line in a gorgeous shade is still a wobbly line.
What’s genuinely shifted is that washi has grown out of the scrapbook aisle into real interior work, mostly because people are renting for longer and temporary materials are finally being taken seriously. The Japanese rolls from mt and Kokuyo hold their color and their edge in a way the discount stuff simply doesn’t, and at $3 to $5 for 10 meters there’s no reason to buy down. Just stay honest with yourself about what this is: paper and low-tack glue. Sunlight will yellow and buckle it, bathroom steam will curl it, and flat matte paint will fight you every time. Plan on refreshing the sunny spots once a year and you’ll never be disappointed.
Pick the version that matches your lease and your patience. Taped picture frames and the arched headboard if you want a different room by tonight, the fake picture-frame moulding or the panelled door if you’ve got a free afternoon, or the harlequin diamond wall if you’re feeling ambitious and have a good podcast queued up. If this helped, sign up for my weekly newsletter and I’ll keep sending the tape brands, layout templates, and rental-safe tricks I’m using in real client homes.


